The first and simplest situation is where the image aspect ratio exactly matches that of the 'Product' (the Zenfolio term for anything physical in our case with prints). This image will by default be printed as a photo print with no white space. We will pick a lioness for the example. This image happens to be exactly 8x10 aspect ration (8x10, 16x20 etc):

We click on the 8x10 Print link in the 'Featured Products' list to get the confirmation screen of the product from the full product list (you may or may not see this screen depending upon Zenfolio's configuration as it is redundant):

The next step, as always for Zenfolio, is to 'Add to Cart' so we can start adjusting parameters for the print such as paper type, cropping, paper coating, framing and the like. We click 'Add to Cart' button to get the standard product confirmation screen:

We want to confirm using the Preview and Configure link that we'll see edge to edge printing. For good measure, you should always click this link to confirm all the options you want for a print. It lets you set paper types, print coatings, cropping, online custom framing, and more options. It is always good to verify that all the options you would like for any print are selected properly. We click on the 'Preview and Configure' link and get this screen:
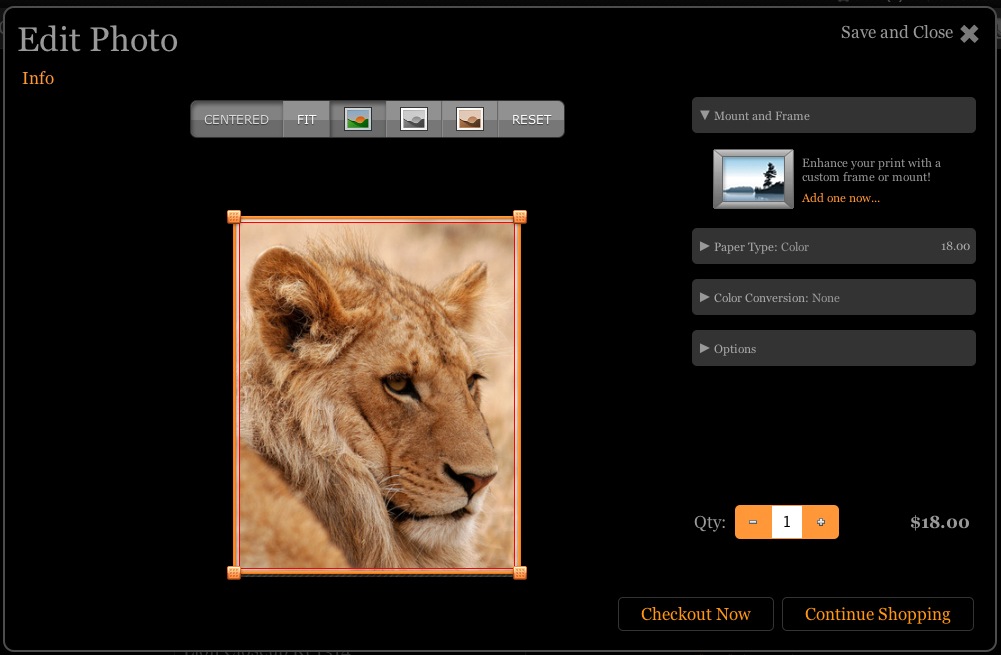
In this case, assuming we want the print on the given paper type and do not want to change any options, we are done. We can see from the preview window that the image is full and filling the entire paper area less a small amount that will be lost when the paper is cut. This is the standard edge to edge print process. We can check the other options (Paper type, color conversion, options), but the cropping and image position is correct.